

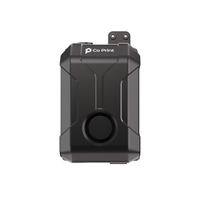

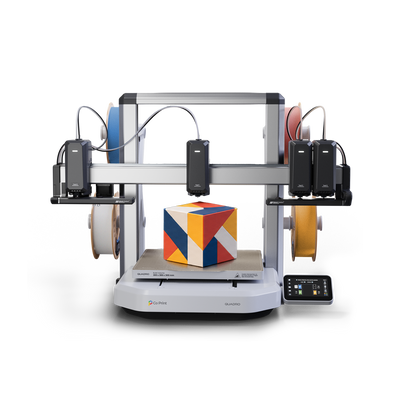
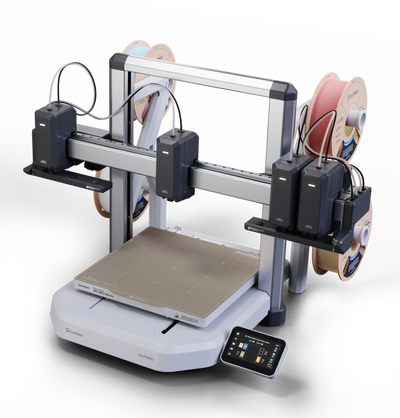

To start multicolor 3D printing, you need a model with color areas, a slicer that assigns each color to a toolhead, filament loaded in each toolhead and a printer that's calibrated. On Quadro, each color has its own toolhead, so the steps are the same as a normal print plus assigning colors.
Here is the whole path from an idea to a print.
1. Pick or Make a Model
Start with a model that has a few large color areas and clear boundaries, such as a nameplate or a simple figure. Fine color detail comes later. See Multicolor 3D Printing Project Ideas. No model? A drawing can become one, see Co Print Quadro × Meshy.
2. Open It in the Slicer
Quadro's slicer, Co Slicer, is built on OrcaSlicer. Load the model and prepare it for printing as you would any other. See QuadrOS, Klipper and Co Slicer.
3. Assign Colors to Toolheads
Each of Quadro's four toolheads holds one filament, so each color or part of the model is assigned to one of them. Stay within four colors for a job to avoid swapping filament mid-print.
4. Check the Waste Settings
Quadro doesn't purge colors, but a small prime tower stabilizes pressure. On compatible models, Zero Waste Mode prints that extrusion into the infill instead. See Zero Waste Mode.
5. Load Your Filament
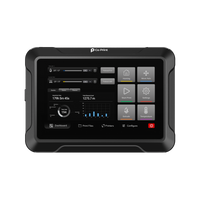
On the touchscreen, open the material screen, select the toolhead and load the filament. Set the material type or choose a preset. See Controlling Four Toolheads Is Easier Than You Think. Keep filament dry for best results, see Filament Dryer Box.
6. Calibrate
Run the calibration wizard on first setup and after maintenance, nozzle changes or transport. See How Quadro Calibrates Four Independent Toolheads.
7. Print and Check the First Layers
Watch the first layers. Color boundaries show immediately whether toolheads are aligned. QLight shows which toolhead is active.
Common First-Print Mistakes
- Starting with a model that has too many small color details.
- Using more than four colors in one job.
- Skipping calibration after moving the printer.
- Loading wet filament.
- Forgetting to check that each spool has enough filament for the whole print.
Key Takeaways
- Start with large color areas and fewer than five colors.
- Assign each color to a toolhead in the slicer, load filament and calibrate.
- Check the first layers, because color boundaries show alignment.
Ready for your first four-color print? See Quadro or visit the Kickstarter page.
3. FAQ
How do I 3D print in multiple colors? Use a printer that can hold several filaments, assign each color to a toolhead in the slicer, load the filament and print. On Quadro, each of the four toolheads holds one filament.
How many colors can I use on Quadro? Four per job, one per toolhead, without swapping filament during the print.
What should my first multicolor print be? A model with large color areas and clear boundaries, such as a nameplate or a simple figure.
Do I need to calibrate before printing? Run calibration on first setup and after maintenance, nozzle changes or transport. Quadro's wizard does it automatically.
Which slicer does Quadro use? Co Slicer, which is built on OrcaSlicer.